Planning a major renovation can be exciting but without a clear plan, it can quickly become overwhelming, costly, and delayed. So if you are remodeling your entire home, following a structured process is the key to success.
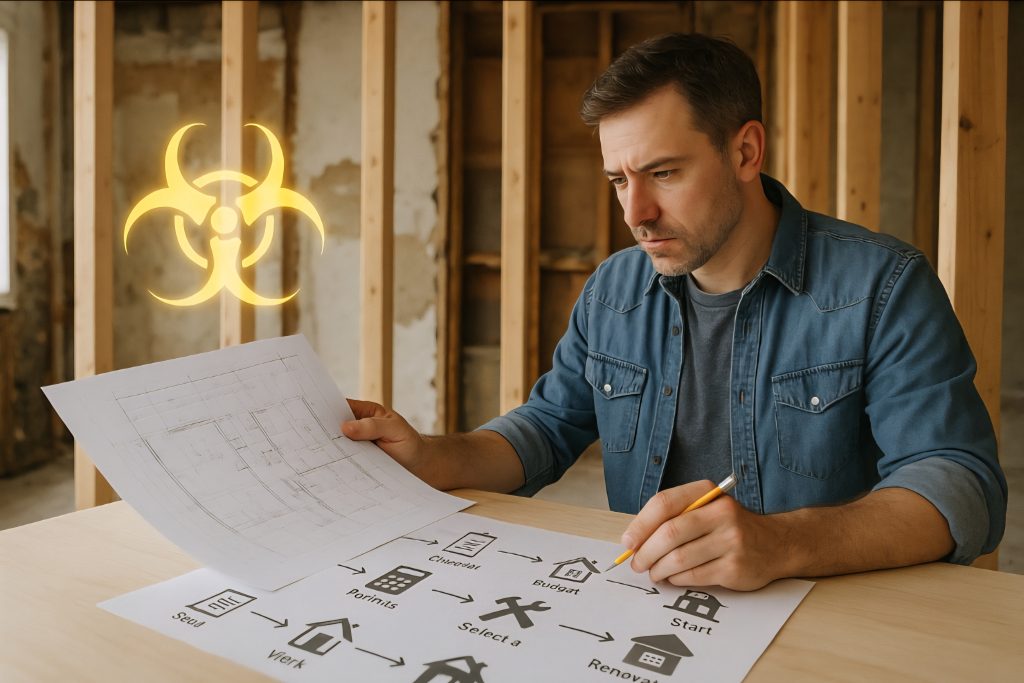
Here’s a step-by-step guide that simplifies the process and sets your renovation up for a smooth experience.
 Step 1: Define Your Goals and Vision
Start by identifying what you want to achieve.
- Are you improving functionality, style, energy efficiency, or resale value?
- What are your must-haves vs. nice-to-haves?
 Tip: Create a mood board
 Step 2: Set a Realistic Budget
Determine how much you can spend and always add a 10–20% buffer for unexpected costs.
Don’t forget to factor in:
- Permits and inspections
- Temporary housing (if needed)
- Design and consultant fees
 Step 3: Hire the Right Professionals
Depending on the scope, you may need:
- Architect or designer
- General contractor or renovation firm
- Structural engineer (for load-bearing changes)
- Specialty trades (plumbers, electricians, HVAC)
- Waterproofing or Radon gas consultants and contractors.
Ask for licenses, insurance, references, and a portfolio of recent work.
 Step 4: Get Permits and Prepare Documentation
Most major renovations in Ontario and other provinces require building permits.
Common permit needs include:
- Structural changes
- Plumbing alterations
- Basement finishing
- Additions or load-bearing wall removal
Unpermitted work can lead to fines, delays, or problems during resale.
 Step 5: Finalize Design and Select Materials
- Layouts and drawings
- Material choices (flooring, fixtures, cabinets, finishes)
- Lead times for custom or imported products
Choosing materials early helps avoid delays and budget surprises.
 Step 6: Prepare Your Home and Family
Renovations can be disruptive. Depending on the project:
- Relocate furniture and valuables
- Set up temporary kitchens or bathrooms
- Consider moving out during messy phases (e.g., demolition or floor refinishing)
 Step 7: Begin Construction Phase
Your contractor should provide:
- A clear timeline with milestones
- Weekly updates or progress meetings
- Change order procedures (for anything added mid-project)
Document all communications, and don’t hesitate to ask questions.
 Step 8: Final Inspections and Walkthrough
Once construction is complete:
- Conduct a final walkthrough with your contractor
- Make a deficiency list (touch-ups, adjustments)
- Schedule city inspections (if permits were pulled)
 Step 9: Clean Up and Enjoy
Your contractor should do a post-renovation clean-up. Some also offer professional cleaning services.
After that—celebrate your upgraded home!
Take before-and-after photos for inspiration and future value.
 Final Thoughts
A well-planned renovation doesn’t just improve your home—it enhances how you live in it.
By following this structured approach, you’ll reduce stress, avoid surprises, and get the most out of your investment.
Bonus: Use AI to Plan Smarter, Faster & Cheaper
Want a faster way to get started?
You can now use our renovation quiz and upload your photos and answer a few simple questions. In just minutes, our AI engine will show you:
- Before-and-after previews
- Design inspiration tailored to your home
- Budget-saving recommendations
- Curated renovation advice based on your goals
All designed to help you save time, reduce costs, and make smarter renovation decisions—before hiring anyone.
Get started sign